As part of your Salesforce integration, Leadspace conducts a field mapping process to populate the proper Leadspace fields into your Salesforce fields.
This manual consists of the following chapters:
- Leadspace Fields for Mapping
- Leadspace Auto-Populated Fields
- SFDC Mappings
- Value Mappings
- Fields Checklist for Successful Integration
To have a successful integration, please review the full document before moving on to the other documents.
Leadspace Fields for Mapping
This article consists of two parts:
- Leadspace Fields
The table at the top of the document consists of all the fields Leadspace can populate into your SFDC instance.
Field Type
The first column indicates the field type (Lead, Contact, or Account). Leadspace can populate data into all three field types.
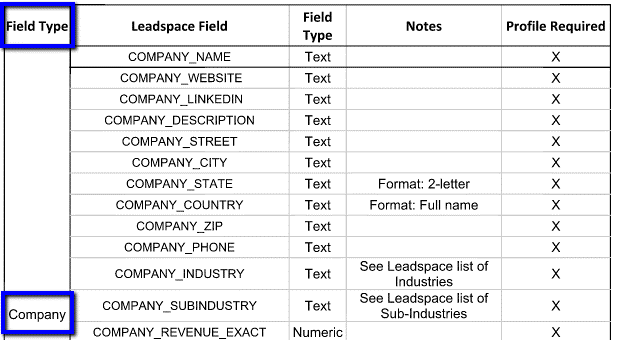
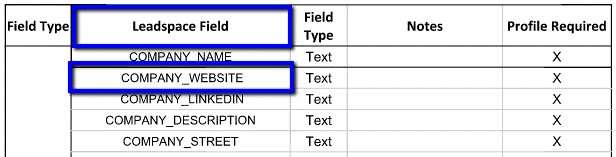
Leadspace Field
The second column indicates the Leadspace fields. These are all the fields that Leadspace offers and are what Leadspace can push into your Salesforce. You will use these field names to indicate what Leadspace field will be populating your Salesforce field.
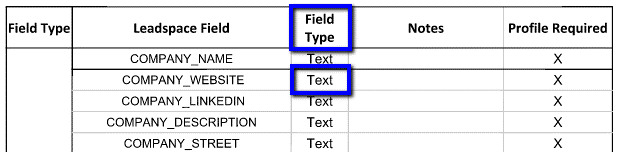
Field Type
This column indicates whether the field is a text or numeric field type. If you create a custom field in Salesforce that you want Leadspace to populate, you will need to set the field type to the correct format.
** Please note that for most fields, the field type is Text. For a select few (exact revenues, exact company sizes, and score fields), it is Numeric.
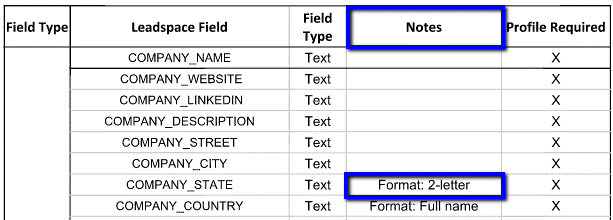
Notes
This column contains any additional notes that can help determine the field mapping.
For example, note that on the COMPANY_STATE field, Leadspace pushes the the state name in a 2-letter format (rather than a full name format). If you wish Leadspace to push these fields in a different format, please let your Leadspace contact know as this can be adjusted through value mapping.
- Leadspace Picklist Values
The second part of this article contains the list of Leadspace picklist values for the following fields:
- Person Levels
- Person Departments
- Company Size Ranges
- Company Revenue Ranges
- Industries and Sub-Industries
If some of these values don't match your picklist values, we will explain in this document how that can be adjusted under the Value Mapping section.
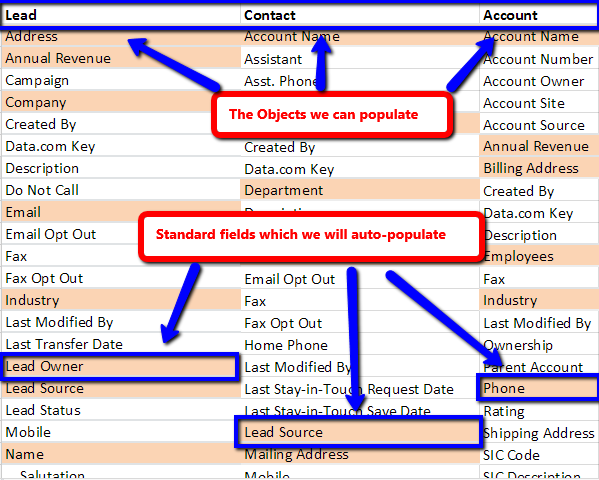
Leadspace Auto-Populated fields
This document lists all standard Salesforce fields, organized by object (Lead/Contact/Account). The cells highlighted in pink are Salesforce fields that are auto-populated by Leadspace.
Important things to note:
- If you are planning to use the standard fields, you won’t need to map the fields highlighted in the pink cells
- Although these fields auto-populate into your standard fields, they can also be populated to any custom field as well
- If you want to disable auto-population for any standard field, please let your Leadspace rep know so they can disable the automatic population on the backend
SFDC Mappings
On this document, the first tab, “Mapping Format”, would be the actual spreadsheet you will fill in when creating a new field mapping or change the existing mapping at any given time.
Besides from the initial setting of the mappings, in case you would like to add additional mappings in the future, this is the document you will use.
In this format, you will need to fill out the following columns:
- Type (Column D)
- salesforceFieldName (Column E)
- mappedLeadspaceField (Column F)
- defaultValue (Column G)
- override (Column I)
Type (Column D)
This column will indicate to which object you will want Leadspace to populate in your Salesforce out of the possible 3: Lead\Contact\Account
As mentioned earlier, almost all the fields can be populated into all three objects (besides the few fields which apply for Lead only).

salesforceFieldName (Column E)
This column will consist of the API field names you would like Leadspace to populate into your Salesforce instance.
This, of course, can be standard fields OR custom fields.
Please remember that custom fields end with “__c.”
Make sure to insert the proper field name as it exists on your Salesforce or otherwise the mapping won’t work.

mappedLeadspaceField (Column F)
In this column, you will mention the Leadspace field you want us to populate into the field.
You will do it using the “Leadspace Fields” document we explained about earlier on section A.
Just copy the Leadspace field name listed on this document and copy it into the format.
Please keep in mind that some of the fields will be auto-populated by us you’re your standard fields. If you are planning to use the standard fields for those, no need to list them in the document.

defaultValue (Column G)
You will use this column to indicate to us if you want us to set a default value for a specific field for any reason.
For example, a typical use for that would be setting the “Lead Status” field to match you internal terms instead of Leadspace indicating it as “Open”.
This column can certainly remain empty so don’t afraid to leave it as is if needed.

override (Column I)
This column is rather simple, all you need to do is choose if you want Leadspace to override existing data and fill in “TRUE” if you do and “FALSE” if you don’t.
Override means that if the field has any value in it while Leadspace is populating the object, we will replace the data with our data.
In case the field is empty, Leadspace will populate this field whether the override is set on or off.

Once this Excel spreadsheet format ready with all the fields, please send it back to Leadspace’s Integration Manager and your Customer Success Manager.
On the second tab of this spreadsheet, “Mappings Example”, you will find an example of how a finalized mapping format should look like.
Fields Checklist for Successful Integration
To have the integration as successful as it could be, attach is a checklist of settings we highly recommend to check each field to make sure we won’t encounter any major issue while integrating Leadspace with your Salesforce instance.
The settings you should verify -
Make sure that all the user profiles have permissions to write into the Salesforce fields you want Leadspace to populate as during the import of data from Leadspace, data will be written to these fields.
To check the field permissions, please go to your Salesforce Setup -> Administration Setup -> Security Controls -> Field Accessibility -> Choose one of the objects (Lead\Contact\Account) -> Choose “View by Fields”\” View by profiles” Check the field visibility for this field\profile:

If for some the fields you have any active picklists, make sure to address our Value Mapping section
Should you have any questions or remarks regarding the process or this document, please let us know at support@leadspace.com or contact your Customer Success Manager.